
Quickstart Guide
Get up and running with Armox in under 10 minutes. By the end of this guide, you'll have generated your first AI image.
📺 Video Tutorial
Step 1: Sign Up and Log In
- Go to armox.ai and click Get Started
- Create your account using email or Google sign-in
- You'll receive 2000 free credits to start creating
💡 Tip: Your first Brain is automatically created when you sign up—we call it "[Your Name]'s Brain."
Step 2: Understand the Dashboard
After logging in, you'll see your dashboard with these key areas:
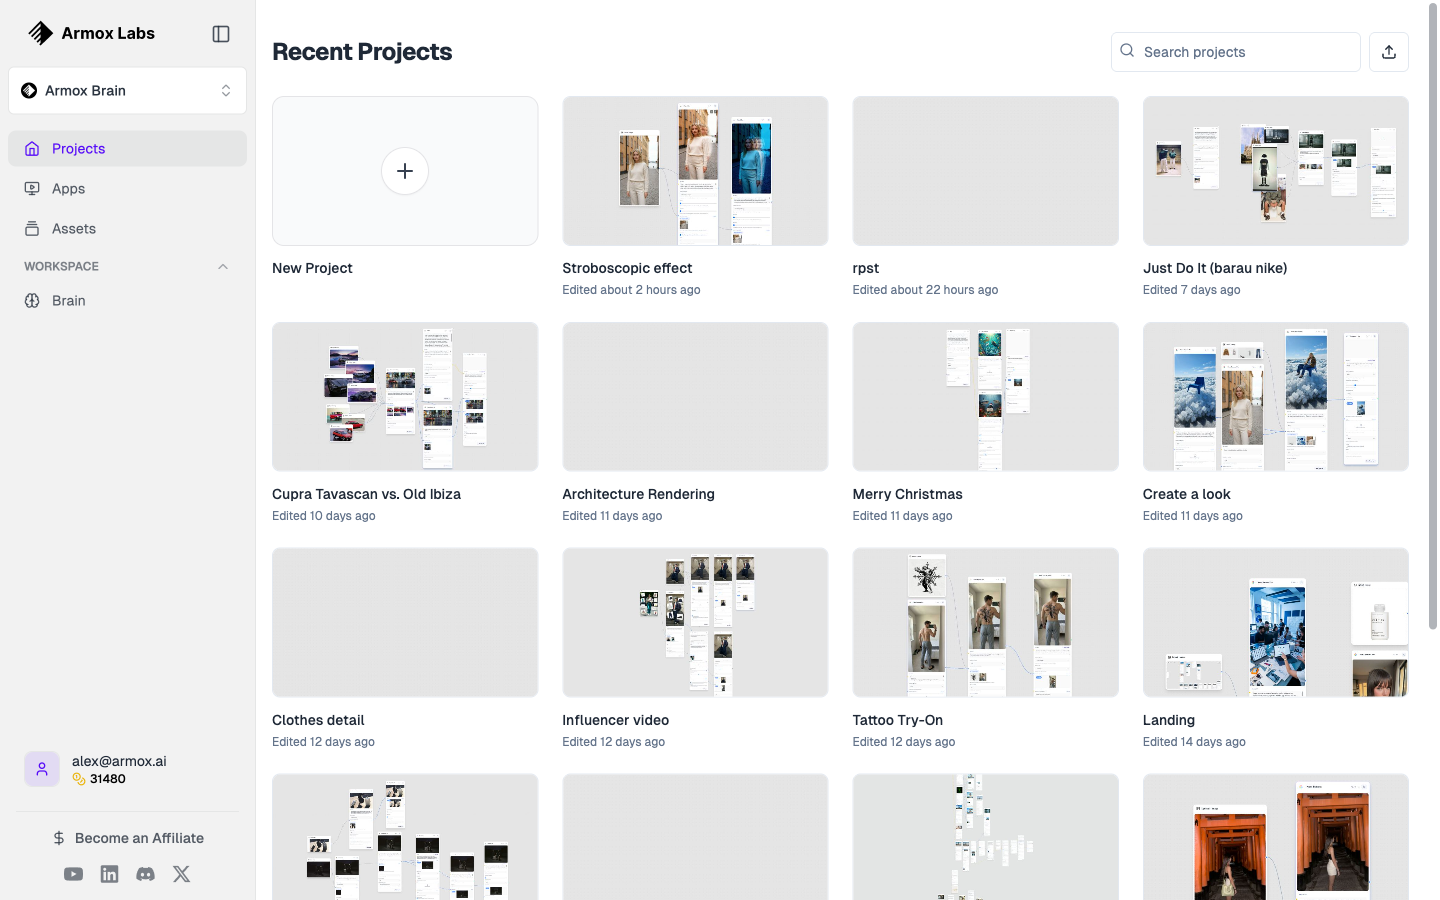
The main Projects dashboard showing your recent Canvas projects with thumbnails.
| Area | Purpose |
|---|---|
| Sidebar | Navigate between Brains, Canvas, Gallery, Apps, and Chat |
| Brain Selector | Switch between different projects/brands |
| Main Area | Your current workspace |
Step 3: Open the Canvas
The Canvas is where you'll create your first AI-generated image.
- Click Canvas in the sidebar
- Click + New Canvas to create a fresh workspace
- Give your canvas a name (e.g., "My First Generation")
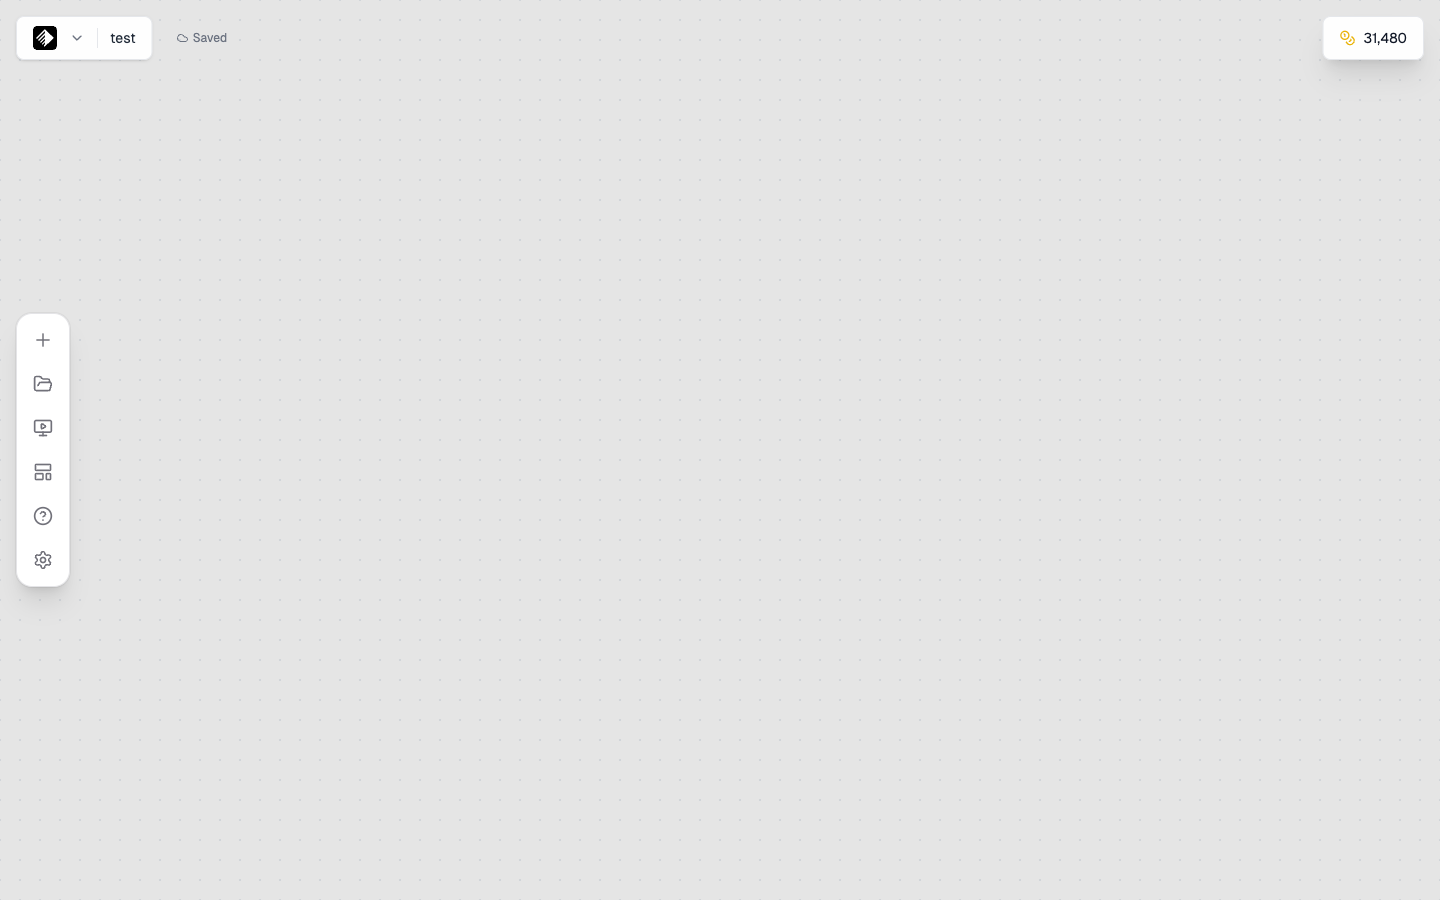
You'll see an empty canvas with a grid background—this is your creative workspace.
Step 4: Add Your First Nodes
Nodes are the building blocks of your workflow. Let's add two nodes:
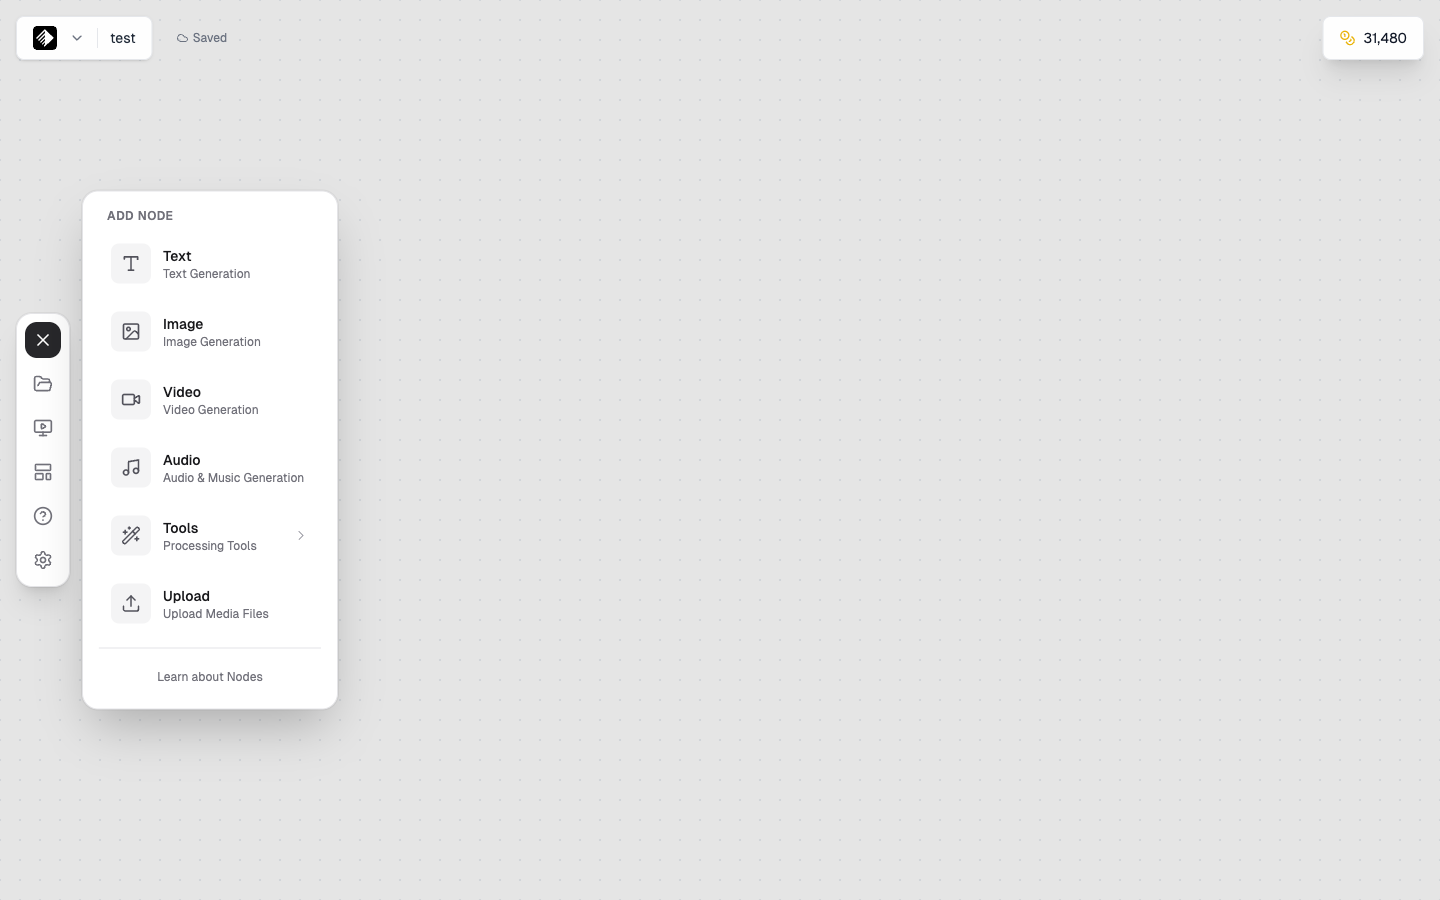
Click the + button to open the Add Node panel with all available node types.
Add a Text Node
- Look at the left sidebar in the Canvas
- Find Text under the node types
- Drag and drop it onto the canvas (or click to add)
This node is where you'll write your prompt—the description of what you want to create.

A Text node using GPT-5 for AI-powered text generation.
Add an Image Node
- From the same sidebar, find Image
- Drag it onto the canvas, placing it to the right of your Text node
This node will generate your image using AI.
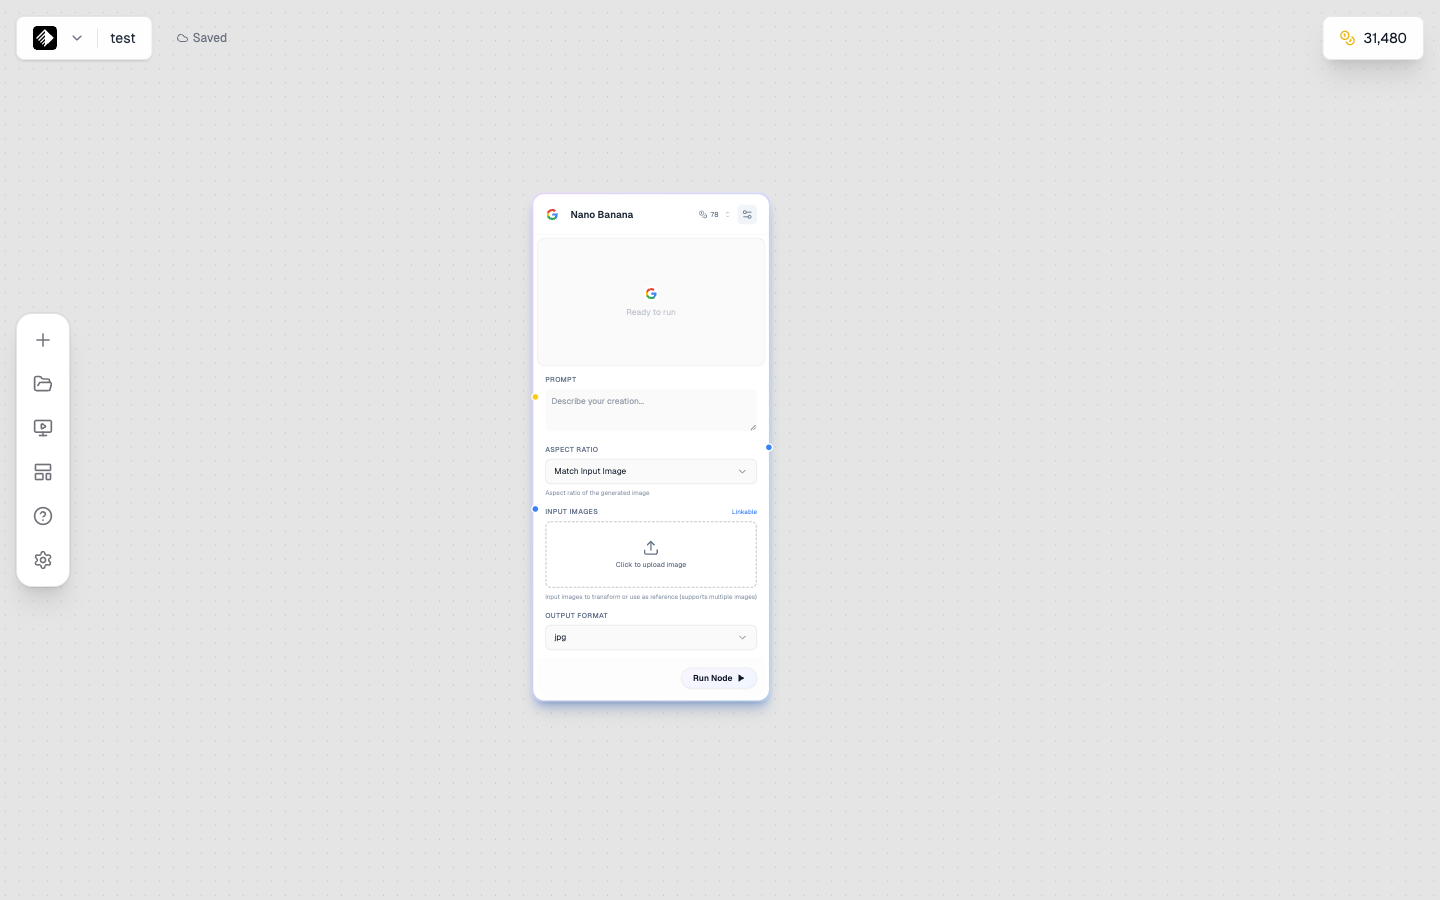
An Image node ready to generate images using the Nano Banana model.
Add a Video Node
- From the sidebar, find Video
- Drag it onto the canvas
This node will generate AI videos from text prompts or images.
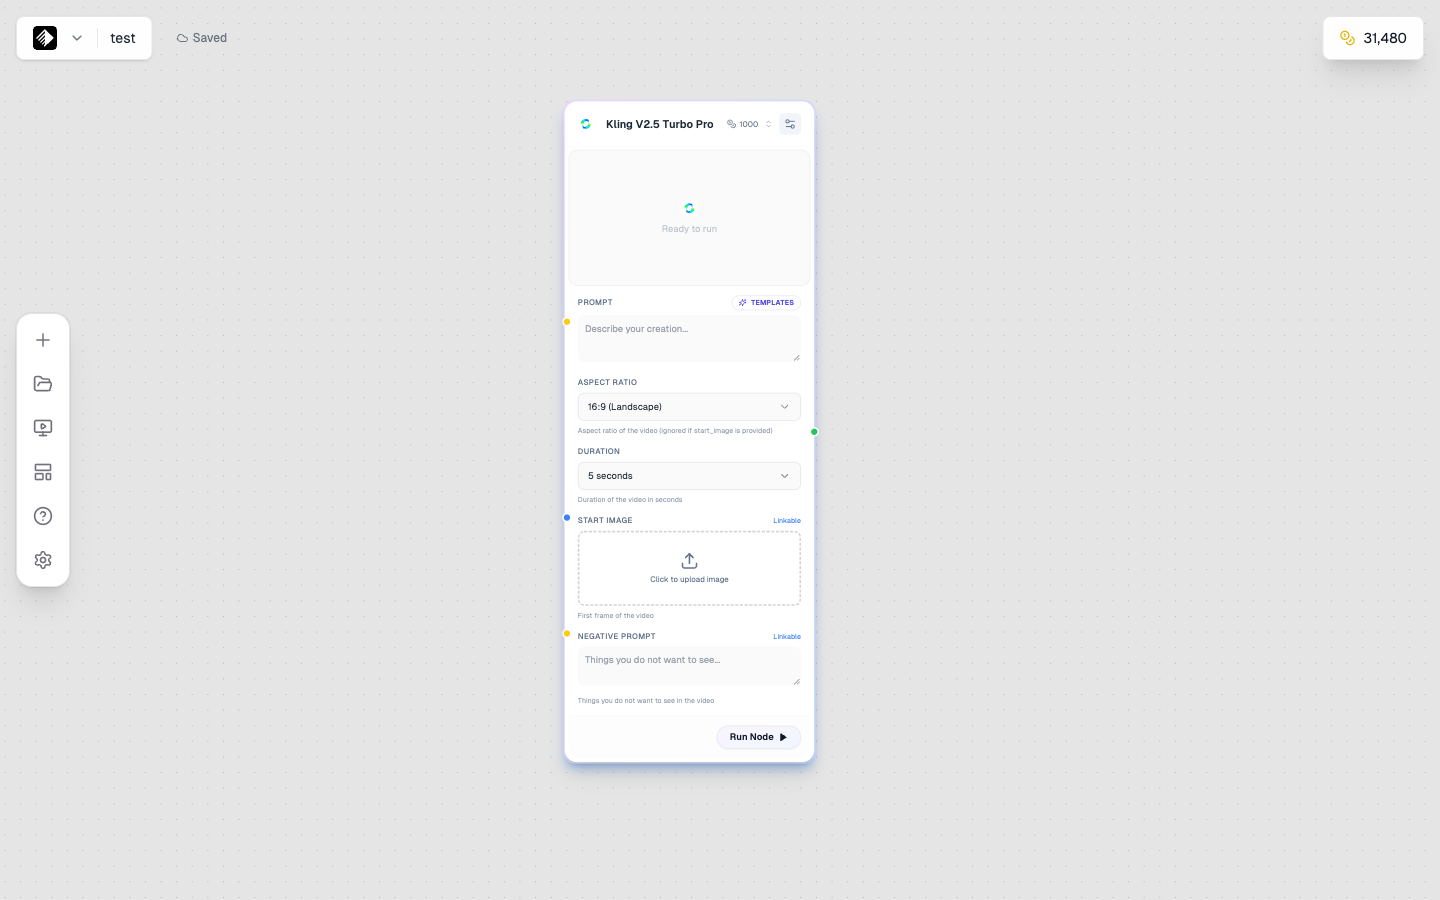
A Video node using Kling V2.5 Turbo Pro for high-quality video generation.
Video nodes can create:
- Text-to-video — Describe a scene and get an animated video
- Image-to-video — Animate a still image with motion
Add an Audio Node
- From the sidebar, find Audio
- Drag it onto the canvas
This node will generate music, voiceovers, or sound effects.
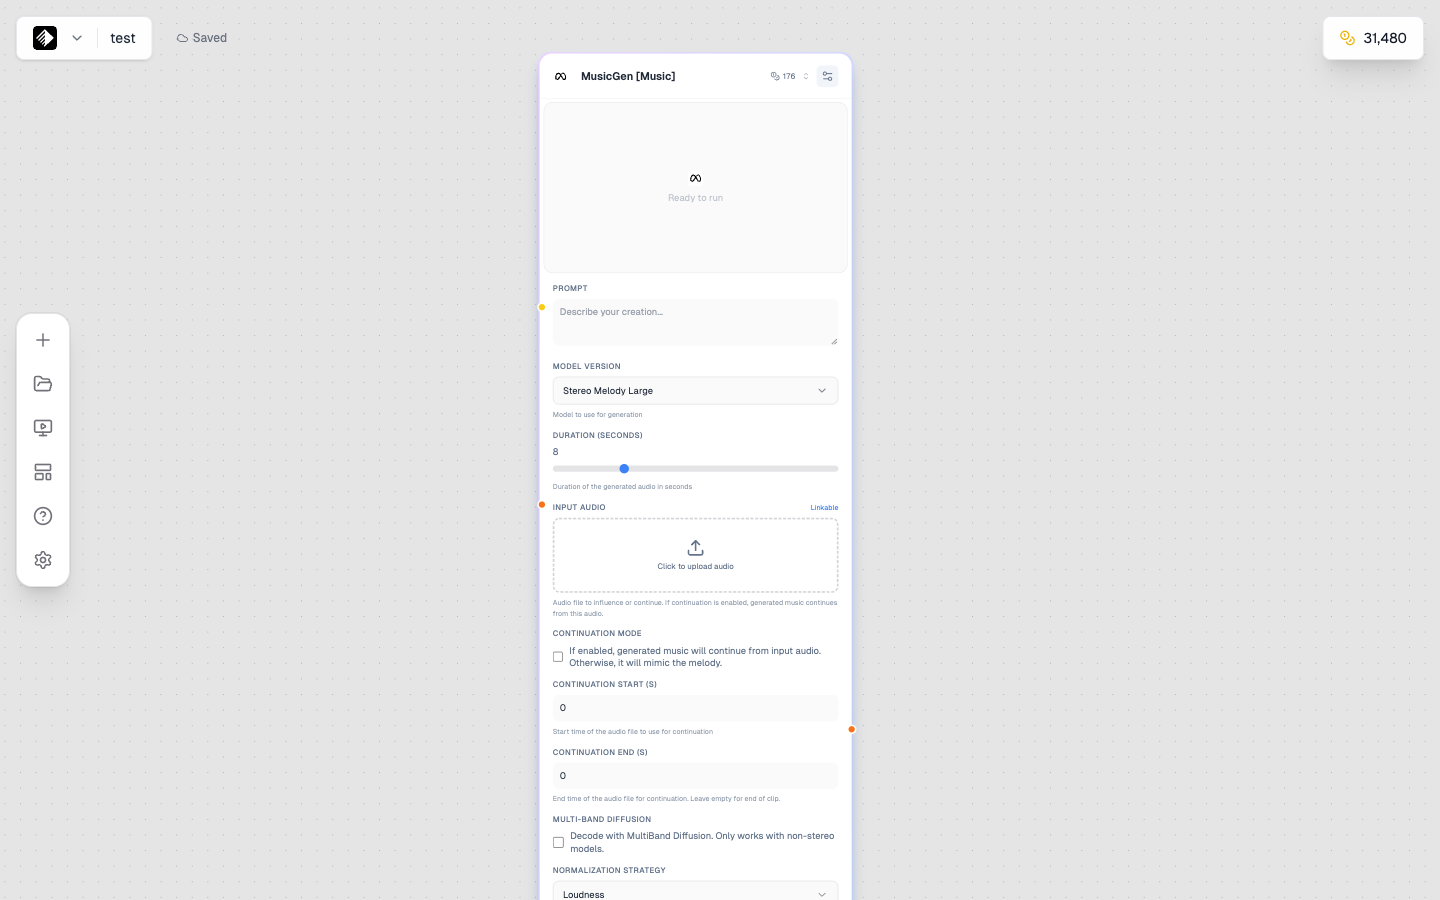
An Audio node using MusicGen for AI music generation.
Audio nodes can create:
- Music — Background tracks, jingles, full songs
- Speech — Voiceovers, narration, text-to-speech
- Voice cloning — Replicate a voice from a sample
Step 5: Connect the Nodes
Now let's connect them so your text flows into the image generator:
- Find the small circle on the right side of your Text node (this is the output handle)
- Click and drag from this circle to the left side of your Image node (the input handle)
- You'll see a line connecting them—this is your workflow!
🎨 Color Guide: Text connections are yellow, image connections are blue, video is green, and audio is orange.
Step 6: Write Your First Prompt
Click on your Text node to select it. You'll see a text area where you can type your prompt.
Try this example prompt:
A cozy coffee shop interior, morning sunlight streaming through
large windows, warm wooden furniture, plants on shelves,
photorealistic, professional photography
Good prompts include:
- Subject — What is the main focus?
- Setting — Where is it?
- Style — What aesthetic or mood?
- Quality keywords — "photorealistic," "professional," "high quality"
Step 7: Choose Your AI Model
Click on your Image node to see its settings:
- Model — Select an AI model (start with Flux 2 Dev for good quality at reasonable cost)
- Aspect Ratio — Choose your output dimensions (1:1 for square, 16:9 for widescreen)
Leave other settings at their defaults for now.
Step 8: Generate Your Image
Time for the magic!
- With your Image node selected, click the ▶ Run button (or press the play icon on the node)
- Watch the progress indicator—generation typically takes 10-30 seconds
- Your generated image will appear in the node's preview area!
💰 Credits Used: You'll see the credit cost before running. Flux 2 Dev costs about 50 credits per image.
Step 9: View and Download
Your image is now generated! Here's what you can do:
- Preview — Click the image in the node to see it larger
- Download — Click the download icon to save to your computer
- Gallery — Your image is automatically saved to your Gallery
Step 10: Check Your Gallery
All your generated content is saved in the Gallery:
- Click Gallery in the sidebar
- Find your newly generated image
- Click to preview, download, or delete

The Gallery shows all your generated content organized by type.
🎉 Congratulations!
You've just created your first AI-generated image with Armox!
Here's what you learned:
- ✅ How to navigate the Armox dashboard
- ✅ How to create a Canvas workflow
- ✅ How to add and connect nodes
- ✅ How to write a basic prompt
- ✅ How to generate and download images
What's Next?
Now that you've got the basics, explore these guides:
- Understanding Credits — Learn how credits work and optimize your usage
- Understanding Brains — Organize your projects and brand identity
- Prompt Engineering — Write better prompts for better results
- AI Models — Explore all available models and their strengths
Quick Reference
| Action | How To |
|---|---|
| Add a node | Drag from sidebar or click |
| Connect nodes | Drag from output (right) to input (left) |
| Run a node | Click the ▶ button on the node |
| Run entire workflow | Click "Run All" in the toolbar |
| Save canvas | Automatic, or Ctrl/Cmd + S |
| Download output | Click download icon on the result |